반응형
반응형
반응형

직접 MBTI를 검사하는 봇은 아니고, 외부 사이트 등에서 mbti를 검사하고서 그 결과를 등록한 뒤, 디스코드 구성원들과 궁합을 보는 봇이다.


인터넷에 떠돌아 다니는 MBTI 궁합 차트를 기반으로 했다.


물론 아무런 근거 없는 궁합이기 때문에 재미로만 보자.


명령어별 기능


mbti

명령어 모음 (help 명령어와 동일)


1. mbti 검사

MBTI를 검사할 수 있는 링크를 출력한다.


2. mbti 보기 [MBTI]

MBTI 유형을 입력해주면, 해당 유형의 내용을 볼 수 있는 링크를 출력한다.


3. mbti 등록 [MBTI]

자신의 MBTI 유형을 등록한다. (기존에 등록했어도 덮어쓰기 가능.)


4. mbti 등록현황

mbti 등록 현황을 출력한다.


5. mbti 궁합 @A @B

@자리에 원하는 사람을 언급해주면 된다.

@A만 언급하면 A와 나 자신의 궁합 결과를 출력한다.

@A @B 모두 언급해주면, @A와 @B의 궁합 결과를 표시해준다.


개발환경 : UBUNTU 18.04.3

개발언어: NODE JS V12

모듈 : discord.js v12

텍스트 에디터: ATOM (편하신거 사용하시면 됩니다.)


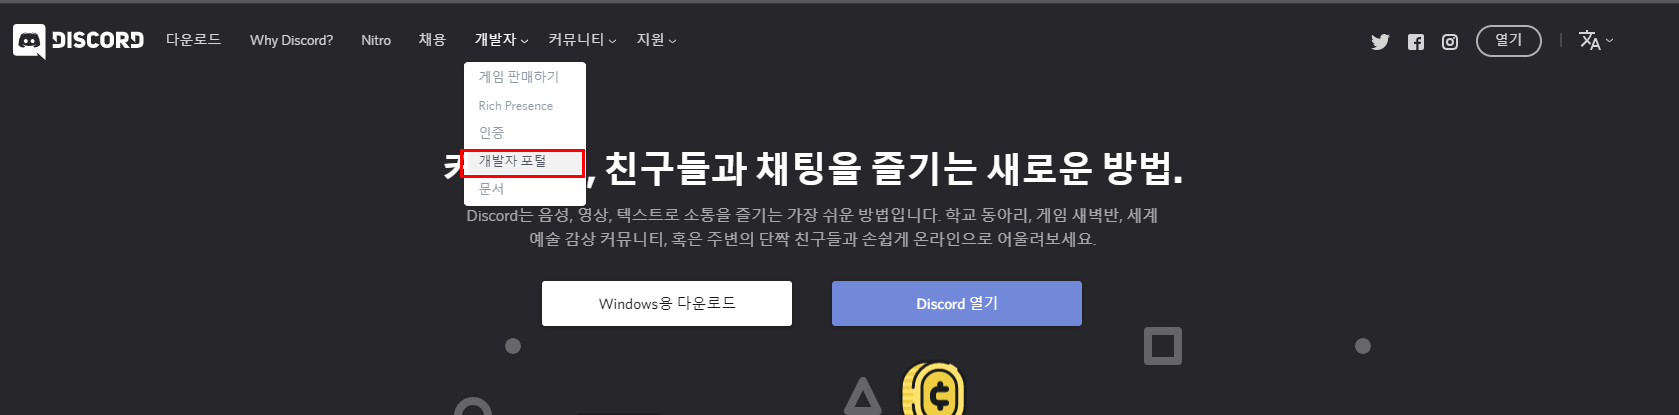
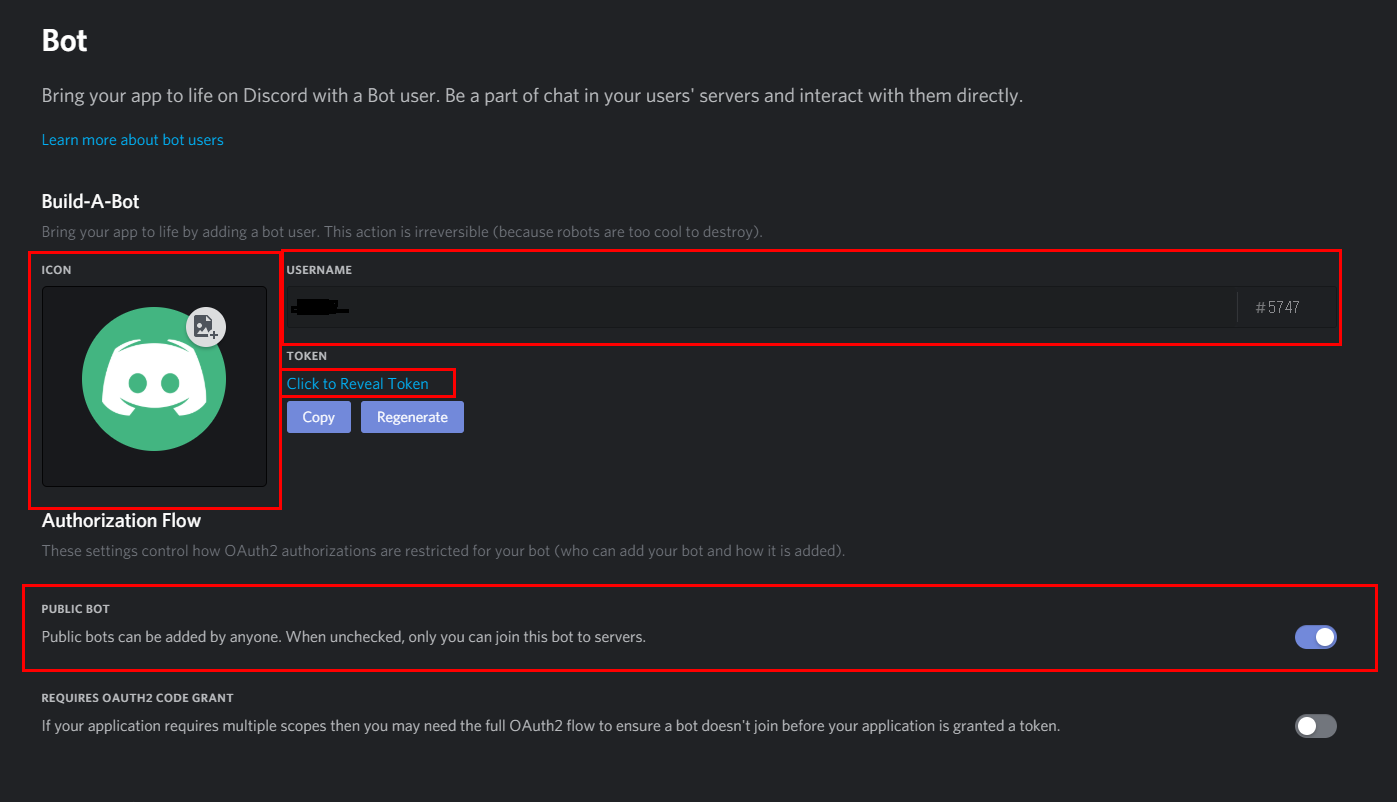
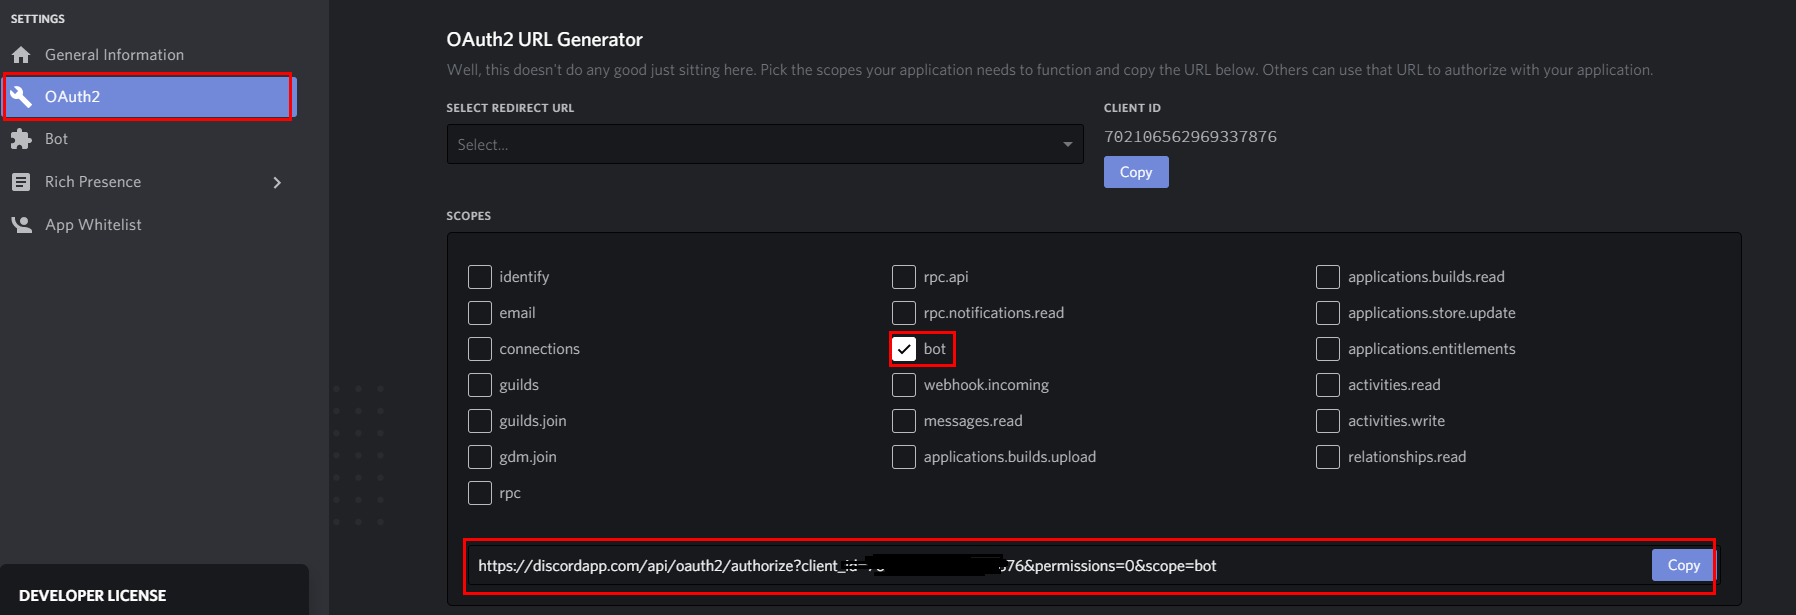
봇 생성하는 것은 아래 포스트를 보고 오자.

https://mandu-mandu.tistory.com/385?category=693080


노드자스로 디스코드 봇 만들기(1) - 봇 생성부터 테스트까지

이 글만을 통해서 기본적으로 텍스트를 출력하는 디스코드 봇을 만들 수 있습니다. 1. 봇 생성하고 초대하기 2. 코드 작성하기 3. 테스트 하기 봇 생성하고 초대하기 먼저 봇 계정을 생성해 주어��

mandu-mandu.tistory.com


일단 위 궁합표를 배열로 만들었다. (노가다다 노가다...)

1
2
3
4
5
6
7
8
9
10
11
12
13
14
15
16
17
18
19
20
21
22
//16가지 mbti 유형
const mbti = new Array("INFP","ENFP","INFJ","ENFJ""INTJ""ENTJ""INTP""ENTP""ISFP""ESFP""ISTP""ESTP""ISFJ""ESFJ""ISTJ""ESTJ");
 
//Relation : A, B, C, D, F
var mbtiR = new Array(16);
mbtiR[0]  = ["A"];
mbtiR[1]  = ["A""A"];
mbtiR[2]  = ["A""B""A"];
mbtiR[3]  = ["B""A""A""A"];
mbtiR[4]  = ["A""B""A""A""A"];
mbtiR[5]  = ["B""A""A""A""A""A"];
mbtiR[6]  = ["A""A""A""A""A""B""A"];
mbtiR[7]  = ["A""A""B""A""B""A""A""A"];
mbtiR[8]  = ["F""F""F""B""C""C""C""C""D"];
mbtiR[9]  = ["F""F""F""F""C""C""C""C""D""D"];
mbtiR[10= ["F""F""F""F""C""C""C""C""D""D""D"];
mbtiR[11= ["F""F""F""F""C""C""C""C""D""D""D""D"];
mbtiR[12= ["F""F""F""F""D""C""D""D""C""B""C""B""A"];
mbtiR[13= ["F""F""F""F""D""C""D""D""B""C""B""C""A""A"];
mbtiR[14= ["F""F""F""F""D""C""D""D""C""B""C""B""A""A""A"];
mbtiR[15= ["F""F""F""F""D""C""B""D""B""C""B""C""A""A""A""A"];
 
cs

A, B, C, D, F 5단계이며, 위 표 기준으로 A가 파랑, F가 빨강이다.


이제 명령어 별로 6가지의 기능을 구현해야 하는데, 1번과 2번은 단술 입출력이기 때문에 아래 포스트를 보고 구현이 가능하다.

https://mandu-mandu.tistory.com/385?category=693080


노드자스로 디스코드 봇 만들기(1) - 봇 생성부터 테스트까지

이 글만을 통해서 기본적으로 텍스트를 출력하는 디스코드 봇을 만들 수 있습니다. 1. 봇 생성하고 초대하기 2. 코드 작성하기 3. 테스트 하기 봇 생성하고 초대하기 먼저 봇 계정을 생성해 주어��

mandu-mandu.tistory.com

https://mandu-mandu.tistory.com/386?category=693080


노드자스로 디스코드 봇 만들기(2) - 노래/사진/상태/삭제

이번에 추가할 기능은 아래와 같습니다. [ 로컬 노래파일 재생, 로컬 사진 전송, 상태메세지 설정, 메세지 지우기 ] 개발환경 : UBUNTU 18.04.3 개발언어: NODE JS V8 모듈 : discord.js v11 텍스트 에디터: ATOM

mandu-mandu.tistory.com


3번 4번 5번의 핵심 기능은 동일하다.


배열을 하나 만들어서

유저의 id (고유값), username, mbti 유형값을 받아서 저장하고

json으로 만들어서 외부 파일에 저장해둔다.


저장된 유저의 mbti값을 가져와서 궁합 값을 출력해주면 된다.


간단하다.


봇의 핵심인 3번과 5번 명령에 해당되는 코드:


1
2
3
4
5
6
7
8
9
10
11
12
13
14
15
16
17
18
19
20
21
22
23
24
25
26
27
28
29
30
31
32
33
34
35
36
37
38
39
40
41
42
43
44
45
46
47
48
49
50
51
52
53
54
55
56
57
58
59
60
61
62
63
64
65
66
67
68
69
70
71
72
73
74
75
76
77
78
79
80
81
82
83
84
85
86
87
88
89
90
91
92
93
94
95
96
97
98
99
100
101
102
103
104
105
106
107
108
109
110
111
112
113
114
115
116
117
118
119
if (msg.content.startsWith('mbti 등록 ')) {
    var reg_mbti = msg.content.split(' ');
 
    //type
    var type = 16;
    var input_mbti = reg_mbti[2].toUpperCase();
    for(var i=0; i<16; i++) {
      if (mbti[i] == input_mbti) {
        type = i;
        break;
      }
    }
    if(type == 16){
      msg.channel.send("실패!");
    }else {
 
      //json to Array
      var data = fs.readFileSync('./user_list.json''utf8');
      var user_list_arr = JSON.parse(data);
 
      //search
      var j = -1;
      for(var k=0; k<user_list_arr.length; k++) {
        if (user_list_arr[k].user_id == msg.member.user.id) {
          j = k;
          break;
        }
      }
 
      //patch or push
      if (j == -1) {
        var user_list = new Object();
        user_list.user_id = msg.member.user.id;
        user_list.username = msg.member.user.username;
        user_list.mbti  = type;
        user_list_arr.push(user_list);
      } else {
        user_list_arr[j].username = msg.member.user.username;
        user_list_arr[j].mbti  = type;
      }
 
      //Array to json
      data = JSON.stringify(user_list_arr);
      fs.writeFileSync('./user_list.json', data, 'utf8');
 
      msg.channel.send("성공!");
    }
  }
 
  if (msg.content.startsWith('mbti 궁합')) {
    var comp_mbti = msg.content.split(' ');
 
    //json to Array
    var data = fs.readFileSync('./user_list.json''utf8');
    var user_list_arr = JSON.parse(data);
 
    //search user 1
    var user_1 = "";
    if (comp_mbti[2=== undefined) {
      user_1 = "";
    } else {
      user_1 = comp_mbti[2].replace(/[^0-9]/g,'');
    }
 
    var user1type = 16;
    var user1name = "";
    for(var k=0; k<user_list_arr.length; k++) {
      if (user_list_arr[k].user_id == user_1) {
        user1type = user_list_arr[k].mbti;
        user1name = user_list_arr[k].username;
        break;
      }
    }
 
    //search user 2
    var user_2 = "";
    if (comp_mbti[3=== undefined) {
      user_2 = msg.member.user.id;
    } else if (comp_mbti[3== "") {
      comp_mbti[3= comp_mbti[4]; //중간에 띄어쓰기가 한 번 더 들어간 경우에도 정상적인 처리를 위해서
      user_2 = comp_mbti[3].replace(/[^0-9]/g,'');
    } else {
      user_2 = comp_mbti[3].replace(/[^0-9]/g,'');
    }
 
    var user2type = 16;
    var user2name = "";
    for(var k=0; k<user_list_arr.length; k++) {
      if (user_list_arr[k].user_id == user_2) {
        user2type = user_list_arr[k].mbti;
        user2name = user_list_arr[k].username;
        break;
      }
    }
 
    //result
    if (user1type == 16 || user2type == 16) {
      msg.channel.send(noresultEmbed);
    } else{
 
      if (user2type > user1type) {
        [user1type, user2type] = [user2type, user1type];
      }
 
      var result = mbtiR[user1type][user2type];
 
      var explain_text1 = " 와(과) ";
      var explain_text2 = " 의 궁합";
 
      var resultEmbed = new Discord.MessageEmbed()
          .setColor('#0099FF')
          .setTitle(user1name.concat(explain_text1,user2name,explain_text2))
        .addField('결과', result, true)
          .setFooter('Powered by node.js  Made by M4ndU''');
 
      msg.channel.send(resultEmbed);
 
    }
  }
cs


실행


user_list.json 파일을 하나 만들어두고 봇을 실행해야한다.


실행 후에 오류나면 아래 글에서 해결법을 찾아보자. 아래 글에도 없다면 구글링!

https://mandu-mandu.tistory.com/381


discord js 설치, 실행 오류 / 오디오 재생 오류 문제 해결

1. npm으로 discord.js 설치 후 봇 실행시 발생하는 오류 해결 /Client.js:39 } catch { ^ 봇 실행시 위와 같은 오류가 발생할 경우입니다. 저같은 경우에는 discord.js github에 나와있는 설치방법으로 설치를 했

mandu-mandu.tistory.com


반응형
반응형

이번에 추가할 기능은 아래와 같습니다.


[

로컬 노래파일 재생,

로컬 사진 전송,

상태메세지 설정,

메세지 지우기

]


개발환경 : UBUNTU 18.04.3

개발언어: NODE JS V8

모듈 : discord.js v11

텍스트 에디터: ATOM (편하신거 사용하시면 됩니다.)


로컬 경로에 존재하는 mp3파일을 재생하는 기능입니다.

1
2
3
4
5
6
7
8
9
10
11
12
13
14
15
16
17
18
19
20
21
22
23
24
  if (msg.content === 'r.play') {
    // Only try to join the sender's voice channel if they are in one themselves
    if (msg.member.voiceChannel) {
      msg.member.voiceChannel.join()
        .then(connection => { // Connection is an instance of VoiceConnection
          msg.reply('playing music!');
          const dispatcher = connection.playFile('./music.mp3');
          dispatcher.on("end", end => {});
        })
        .catch(console.log);
    } else {
      msg.reply('먼저 방에 들어가');
    }
  }
  if (msg.content === 'r.leave') {
    // Only try to join the sender's voice channel if they are in one themselves
    if (msg.member.voiceChannel) {
      msg.member.voiceChannel.leave();
      msg.reply('bye!');
    } else {
      msg.reply('이미 나왔는데..');
    }
  }
 
cs


r.play는 내가 들어간 음성 채팅방으로 들어가서 music.mp3를 재생합니다. (7행에서 파일명, 경로를 설정할 수 있습니다.)

내가 음성채팅방에 들어가 있지 않은 경우 12행 메세지를 출력합니다.


r.leave로 방을 나갈 수 있습니다.


오디오 재생시 오디오가 재생되지 않고 바로 종료되는 문제

또는 Error: FFMPEG not found 에러 발생시 아래 포스트 참조


https://mandu-mandu.tistory.com/381


discord js 설치 후 catch 오류 / 오디오 재생 오류 문제 해결

1. npm으로 discord.js 설치 후 봇 실행시 발생하는 오류 해결 /Client.js:39 } catch { ^ 봇 실행시 위와 같은 오류가 발생할 경우입니다. 저같은 경우에는 discord.js github에 나와있는 설치방법으로 설치를 했..

mandu-mandu.tistory.com


로컬경로에 존재하는 이미지를 채팅방에 전송하는 기능입니다.


1
2
3
4
5
6
7
8
9
10
11
12
13
14
15
  if (msg.content.startsWith('r.gif')) {
    const args = msg.content.split(' ').slice(1); // All arguments behind the command name with the prefix
    var no = args.join(' '); // Amount of messages which should be deleted
 
    if (!no) no = '1';
    if (isNaN(no) || no > 14return msg.reply('only number 1-14');
 
   // Create the attachment using Attachment
   var path = "./gif/";
   path = path.concat(no,".gif");
   console.log(path);
   const attachment = new Attachment(path);
   // Send the attachment in the message channel with a content
   msg.channel.send(attachment);
  }
cs

명령어는 r.gif n 입니다. n에는 정수가 들어갑니다. ex) r.gif 1


저는 gif 이미지를 보내도록 했습니다. 필요에 따라서 10번행의 확장자명을 gif에서 png, jpg등으로 바꾸실 수 있습니다.

저는 ./gif/ 디렉토리 안에 1.gif, 2.gif, 3.gif ... 파일을 넣어 놨습니다.


파일 명을 정수로 설정해주세요!


5번행은 명령어 뒤에 정수가 입력되지 않은 경우 자동으로 1로 하도록

6번행은 숫자인지 검증, 14까지만 입력되도록 한 것입니다.


상태메세지 설정은 아래 사진과 같이 별명 아래에 메세지를 표시하는 것입니다.

ready 안에 아래 코드 한줄을 추가만 해주시면 됩니다. (전체 코드는 밑에서 확인하실 수 있습니다.)

  client.user.setActivity('봇 만들자', { type: 'WATCHING' })


type에는 WATCHING (시청 중) 외에도 

  • PLAYING   (하는 중)
  • STREAMING
  • LISTENING

으로 설정하실 수 있습니다.


메세지 지우기 기능


1
2
3
4
5
6
7
8
9
10
11
12
13
14
  if (msg.content.toLowerCase().startsWith("r.clear")) {
      const args = msg.content.split(' ').slice(1); // All arguments behind the command name with the prefix
      const amount = args.join(' '); // Amount of messages which should be deleted
 
      if (!amount) return msg.reply('You haven\'t given an amount of messages which should be deleted!'); // Checks if the `amount` parameter is given
      if (isNaN(amount)) return msg.reply('The amount parameter isn`t a number!'); // Checks if the `amount` parameter is a number. If not, the command throws an error
 
      if (amount > 10return msg.reply('You can`t delete more than 10 messages at once!'); // Checks if the `amount` integer is bigger than 100
      if (amount < 1return msg.reply('You have to delete at least 1 message!'); // Checks if the `amount` integer is smaller than 1
 
      msg.channel.fetchMessages({ limit: amount }).then(dmsg => { // Fetches the messages
      msg.channel.bulkDelete(dmsg // Bulk deletes all messages that have been fetched and are not older than 14 days (due to the Discord API)
      ).catch(console.log);});
    }
cs


r.clear n 과 같이 입력하면, n개의 메세지를 삭제해줍니다.


8행 9행에서 각각 최대 최소 개수를 설정할 수 있습니다.


전체 봇 소스코드 bot.js

1
2
3
4
5
6
7
8
9
10
11
12
13
14
15
16
17
18
19
20
21
22
23
24
25
26
27
28
29
30
31
32
33
34
35
36
37
38
39
40
41
42
43
44
45
46
47
48
49
50
51
52
53
54
55
56
57
58
59
60
61
62
63
64
65
66
67
68
69
70
71
72
73
74
75
76
77
78
79
80
// Extract the required classes from the discord.js module
const { Client, Attachment } = require('discord.js');
 
// Create an instance of a Discord client
const client = new Client();
 
 
client.on('ready', () => {
  console.log(`Logged in as ${client.user.tag}!`);
  client.user.setActivity('봇 만들자', { type: 'WATCHING' })
});
 
client.on('message', msg => {
  if (msg.content.startsWith('r.help')) {
    msg.reply('Powered by node.js\nMade by M4ndU');
  }
  if (msg.content.startsWith('r.gif')) {
    const args = msg.content.split(' ').slice(1); // All arguments behind the command name with the prefix
    var no = args.join(' '); // Amount of messages which should be deleted
 
    if (!no) no = '1';
    if (isNaN(no) || no > 14return msg.reply('only number 1-14');
 
   // Create the attachment using Attachment
   var path = "./gif/";
   path = path.concat(no,".gif");
   console.log(path);
   const attachment = new Attachment(path);
   // Send the attachment in the message channel with a content
   msg.channel.send(attachment);
  }
 
 
  if (msg.content === 'r.play') {
    // Only try to join the sender's voice channel if they are in one themselves
    if (msg.member.voiceChannel) {
      msg.member.voiceChannel.join()
        .then(connection => { // Connection is an instance of VoiceConnection
          msg.reply('playing music!');
          const dispatcher = connection.playFile('./music.mp3');
          dispatcher.on("end", end => {});
        })
        .catch(console.log);
    } else {
      msg.reply('먼저 방에 들어가');
    }
  }
  if (msg.content === 'r.leave') {
    // Only try to join the sender's voice channel if they are in one themselves
    if (msg.member.voiceChannel) {
      msg.member.voiceChannel.leave();
      msg.reply('bye!');
    } else {
      msg.reply('이미 나왔는데..');
    }
  }
 
  if (msg.content.toLowerCase().startsWith("r.clear")) {
      const args = msg.content.split(' ').slice(1); // All arguments behind the command name with the prefix
      const amount = args.join(' '); // Amount of messages which should be deleted
 
      if (!amount) return msg.reply('You haven\'t given an amount of messages which should be deleted!'); // Checks if the `amount` parameter is given
      if (isNaN(amount)) return msg.reply('The amount parameter isn`t a number!'); // Checks if the `amount` parameter is a number. If not, the command throws an error
 
      if (amount > 10return msg.reply('You can`t delete more than 10 messages at once!'); // Checks if the `amount` integer is bigger than 100
      if (amount < 1return msg.reply('You have to delete at least 1 message!'); // Checks if the `amount` integer is smaller than 1
 
      msg.channel.fetchMessages({ limit: amount }).then(dmsg => { // Fetches the messages
      msg.channel.bulkDelete(dmsg // Bulk deletes all messages that have been fetched and are not older than 14 days (due to the Discord API)
      ).catch(console.log);});
    }
 
  if (msg.content === 'r.whoami') {
    // Send the user's avatar URL
    msg.reply(msg.author.avatarURL);
  }
});
 
client.login('token');
 
cs


79행 token에 반드시 자신의 봇의 토큰값을 입력하세요

반응형
반응형

이 글만을 통해서 기본적으로 텍스트를 출력하는 디스코드 봇을 만들 수 있습니다.


1. 봇 생성하고 초대하기

2. 코드 작성하기

3. 테스트 하기


봇 생성하고 초대하기


먼저 봇 계정을 생성해 주어야 합니다.


디스코드 홈페이지로 이동합니다. -> https://discordapp.com/


Discord — A New Way to Chat with Friends & Communities

Discord is the easiest way to communicate over voice, video, and text. Chat, hang out, and stay close with your friends and communities.

discordapp.com


상단에 개발자 > 개발자 포털


New Application을 누릅니다.


이름을 설정하고 Create!


왼쪽 탭에서 Bot을 클릭하고, 오른쪽에 있는 Add Bot을 클릭하여 봇을 만들어 줍시다!


현재 페이지에서 봇의 프로필사진, 이름을 수정하실 수 있으며,

중요한 Token 값을 확인하실 수 있습니다. (절대 외부로 유출되서는 안됩니다. Regenerate버튼을 통해 재생성 가능합니다.)

Public Bot 설정은 아무나 이 봇을 초대할 수 있는지, 나만 초대할 수 있는지를 설정하는 것입니다.

체크가 해제되어 있다면, 나만 이 봇을 초대할 수 있습니다.


아래로 스크롤하면, 봇의 권한을 설저할 수 있는 탭이 나옵니다.

여기서 설정하지 않아도, 디스코드 서버 역할을 통해서 권한을 부여해 줄 수도 있습니다.


이제 봇 초대코드를 생성하겠습니다.


왼쪽 두번째 탭 OAuth2를 클릭하시고, 중간에 bot을 체크하시면 아래에 링크가 생성됩니다.


해당 링크로 접속하여 자신의 서버로 봇을 초대할 수 있습니다.


현재 봇은 오프라인 상태가 됩니다.


코드 작성하기


개발환경 : UBUNTU 18.04.3

개발언어: NODE JS V8

모듈 : discord.js v11

텍스트 에디터: ATOM (편하신거 사용하시면 됩니다.)


설치방법


 바로가기 <-- (https://github.com/discordjs/discord.js#installation)


먼저 npm과 node가 설치되어 있는지 확인해보세요.

node -v
npm -v


음성 봇을 사용하지 않는 경우

npm install discord.js


음성 봇을 사용할 경우

npm install discord.js opusscript


설치를 마쳤다면,

이제 텍스트 에디터로 가서 소스를 작성해 봅시다.


기본적인 소스는 다음과 같습니다. node_modules폴더가 있는 폴더에서 작업해주세요!

저는 파일명을 bot.js로 했습니다.

1
2
3
4
5
6
7
8
9
10
11
12
13
14
15
16
17
18
19
20
21
22
23
24
// Extract the required classes from the discord.js module
const { Client, Attachment } = require('discord.js');
 
// Create an instance of a Discord client
const client = new Client();
 
 
client.on('ready', () => {
  console.log(`Logged in as ${client.user.tag}!`);
});
 
client.on('message', msg => {
  if (msg.content.startsWith('r.help')) {
    msg.reply('Powered by node.js\nMade by M4ndU');
  }
 
  if (msg.content === 'r.whoami') {
    // Send the user's avatar URL
    msg.reply(msg.author.avatarURL);
  }
});
 
client.login('token');
 
cs


23행 token 자리에 디스코드 봇 관리 페이지에서 확인가능한 token 값을 넣어주시면 됩니다.


콘솔에 node bot.js을 입력해주시면 봇이 실행되면서, 디스코드 서버내에서 봇이 온라인 상태가 되는 것을 확인할 수 있습니다.


봇의 기능을 당담하는 12~21행의 내용을 분석해보겠습니다.


client.on('message', msg => {
  if (msg.content.startsWith('r.help')) {
    msg.reply('Powered by node.js\nMade by M4ndU');
  }

채팅창에 r.help로 시작하는 메세지를 보내면 메세지를 출력합니다.

Powered by node.js\nMade by M4ndU 이 부분을 수정하여 본인이 원하는 메세지를 넣을 수도 있습니다.

r.help를 수정하여 본인이 원하는 명령어로 변경하실 수도 있습니다.


if (msg.content === 'r.whoami') { 
    // Send the user's avatar URL 
    msg.reply(msg.author.avatarURL); 
  } 
});

메세지의 내용이 r.whoami와 동일하다면

그 유저의 정보를 보냅니다.

r.whoami를 수정하여 본인이 원하는 명령어로 변경하실 수도 있습니다.

msg.author.avatarURL 대신 'msg'로 자신이 원하는 메세지를 넣을 수도 있습니다.


msg.reply는 명령어를 입력한 사람을 언급과 함께 메세지를 보냅니다. 메세지만 보내고 싶으신 경우 msg.channel.send함수를 이용하시면 됩니다.


다음 포스트부터는 이 봇에 여러가지 기능을 추가해 보겠습니다.

반응형

+ Recent posts